
How to Create a Favicon
 How to create a favicon. Welcome to our step-by-step tutorial on creating a unique favicon that represents your brand. Often overlooked but always impactful, this tiny icon represents your brand across browser tabs and bookmark lists.
So grab your creative tools because we’re about to guide you through the process of creating a captivating favicon that truly embodies your brand identity.
Explanation of what a favicon is and its importance for branding
A favicon, short for “favourites icon,” is a small, iconic image that appears next to a website’s name in the browser tab and bookmarks bar. It is often referred to as a website’s logo in its most condensed form. Favicon images are typically square-shaped and measure 16×16 pixels or 32×32 pixels in size.
While it may seem like a minor detail, having a unique favicon can play an important role in your brand’s overall identity and recognition, think of it as the cherry on top of your website design – it may be small, but it adds that extra touch of professionalism and personality.
The Origin of Favicons
The concept of favicons dates back to 1999 when Microsoft introduced them with their Internet Explorer browser. They were originally used as visual markers for websites added to users’ favourites list, hence the “favourites icon.” Over time, they have become more widely recognized as an essential part of web design and branding.
Importance for Branding:
With millions of websites online, standing out from the crowd can be challenging. This is where a well-designed favicon comes into play – it helps create a strong visual association with your brand and sets you apart from competitors.
A favicon also serves as an extension of your brand’s logo or identity. In the same way, a business card or letterhead includes your company’s logo, having a consistent favicon across all digital platforms reinforces your brand’s visual identity.
In addition, a favicon can enhance the user experience by making it easier for visitors to identify and switch between multiple tabs of your website. It also adds professionalism and attention to detail, which can help build trust with potential customers.
Creating an Effective Favicon:
When designing a favicon for your website, there are a few key elements to remember. It should be simple, visually appealing, and easily recognizable. A good favicon should also be scalable and work well on both desktop and mobile devices.
Use elements from your existing logo or brand identity to maintain consistency across all marketing materials. It will also help with brand recall and recognition.

Step 1: Choosing the right image or symbol for your favicon
The first step in creating a unique favicon representing your brand is choosing the right image or symbol. Your favicon should be a small yet impactful representation of your brand and what it stands for. It will appear next to your website’s name in browsers, tabs, and bookmarks, so ensuring it accurately reflects your brand identity is important.
Here are some tips to help you choose the perfect image or symbol for your favicon:
1. Start with a brainstorming session: Gather your team and brainstorm ideas for images or symbols representing your brand. Consider elements such as your products or services, your company logo, and any visual themes associated with your brand.
2. Keep it simple: Remember that favicons are small in size (usually 16×16 pixels), so complex images may not translate well. Stick to simple icons or symbols that can be easily recognized even at a small size.
3. Make it relevant: Your favicon should connect to your brand and what you do to help users associate the icon with your website instantly.
4. Use colours wisely: Colours play an important role in branding and can evoke certain emotions or feelings in people’s minds. Choose colours that align with your brand’s colour scheme to create consistency across all platforms.
5. Be original: While using generic icons or symbols may be tempting, try to create something unique that sets your favicon apart from others. It will help make it more memorable for users.
6. Test it out: Before finalizing your favicon, test it on different backgrounds and sizes to ensure it is easily recognizable and legible.
Remember, your favicon should be a visual representation of your brand that is easily recognizable and memorable. Take the time to choose the right image or symbol, as it will be an important part of your website’s identity.
Step 2: Designing the favicon using software such as Photoshop or Canva
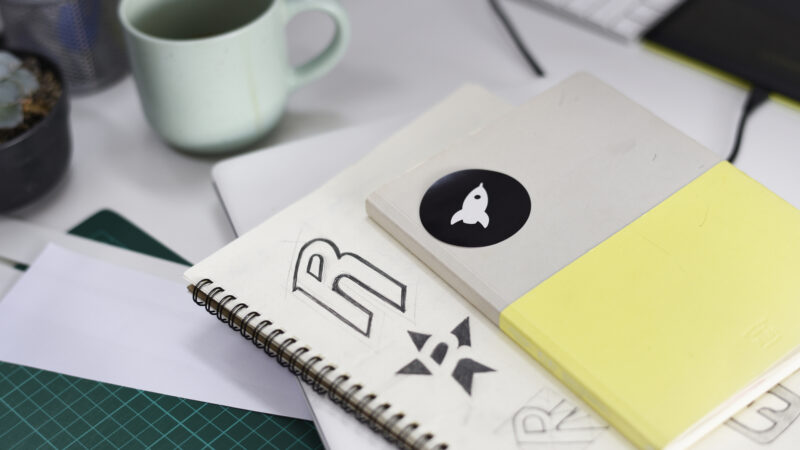
Once you have identified the elements that best represent your brand, it’s time to start designing your favicon. This step involves using graphic design software such as Photoshop or Canva to create a pixel-perfect icon that will be displayed on browsers and mobile devices.
1. Choose the right canvas size
The first step in designing a favicon is selecting the appropriate canvas size. Favicons are small icons, usually measuring around 16×16 pixels or 32×32 pixels. Therefore, choosing a suitable canvas size for creating a high-quality and visible icon within these dimensions is important.
In most design software, you can easily create a new document by going to File > New and entering the desired dimensions.
2. Bring in your branding elements
It’s time to bring all the branding elements you previously identified into your design software. It could include your logo, brand colours, typography, or any other visual elements that represent your brand.
3. Start designing
With all your branding elements imported onto the canvas, the fun part comes: designing! Experiment with different layouts and arrangements until you find one that works well within the small dimensions of a favicon. Be sure to keep it simple and avoid using too many details or text, as this can make the icon appear cluttered and illegible when scaled down.
It’s also important to ensure your favicon is visually appealing and easily recognizable. Using high-contrast colours, bold shapes, and clear typography can help.
4. Save your design
Once you’re happy with your design, it’s time to save it. Export your favicon as a PNG file, the preferred format for favicons.

Step 3: Implementing the favicon on your website
Now that you have designed your favicon, it’s time to implement it on your website. The process may vary depending on the platform or content management system (CMS) you are using, but it generally involves these steps:
1. Create a .ico file
Both ICO and PNG formats have their advantages, so it ultimately depends on your preference and the complexity of your favicon design. If your favicon is simple and has solid colours, ICO may be a better choice as it will result in a smaller file size. On the other hand, if your favicon has intricate details or gradients, PNG may be a better option to preserve the quality of the design.
Generally, having an ICO and PNG version of your favicon is recommended to ensure compatibility with all browsers.
2. Upload the File to your website
Next, upload the File to the root directory of your website. This is where your website’s HTML files are located.
3. Add the favicon code to your website
To ensure that your favicon appears on all website pages, you’ll need to add a code snippet to the <head> section of your HTML code. The code will typically look something like this:
<link rel=”icon” href=”yourfavicon.ico”>
4. Test and troubleshoot
Once you have implemented the favicon, testing it and ensuring it appears correctly on all browsers and devices is important. If you encounter any issues, refer to the documentation for your specific platform or consult a web developer for assistance.
Congratulations! You now have a unique and recognizable favicon that represents your brand and helps users identify your website, among others. Remember to keep it simple, visually appealing, and consistent with your branding elements for maximum impact.
Further Reading
How to Build a Memorable Brand on Social Media
Need help turning this advice into action?
If you are reviewing your website, marketing or online visibility, we can help you work out what to improve first.
Book a marketing reviewRelated articles
 Content
Why the Same Message Needs to Be Told in Different Ways
There is a quiet myth in business that repeating yourself looks unprofessional. We explore why the same message needs to be told in different…
Read article
Content
Why the Same Message Needs to Be Told in Different Ways
There is a quiet myth in business that repeating yourself looks unprofessional. We explore why the same message needs to be told in different…
Read article
 SEO
How to Get Your Website to the Front of the Crowd
Creating a website today without SEO, social media, or any marketing at all is a bit like standing at the back of the O2…
Read article
SEO
How to Get Your Website to the Front of the Crowd
Creating a website today without SEO, social media, or any marketing at all is a bit like standing at the back of the O2…
Read article
 Branding
 by Committee: The Fastest Way to Kill Your Identity
Branding forms the heart and soul of your business, setting you apart from everyone else. In this article, we explore why designing your brand…
Read article
Branding
Branding by Committee: The Fastest Way to Kill Your Identity
Branding forms the heart and soul of your business, setting you apart from everyone else. In this article, we explore why designing your brand…
Read article
 VideoandWeb.com